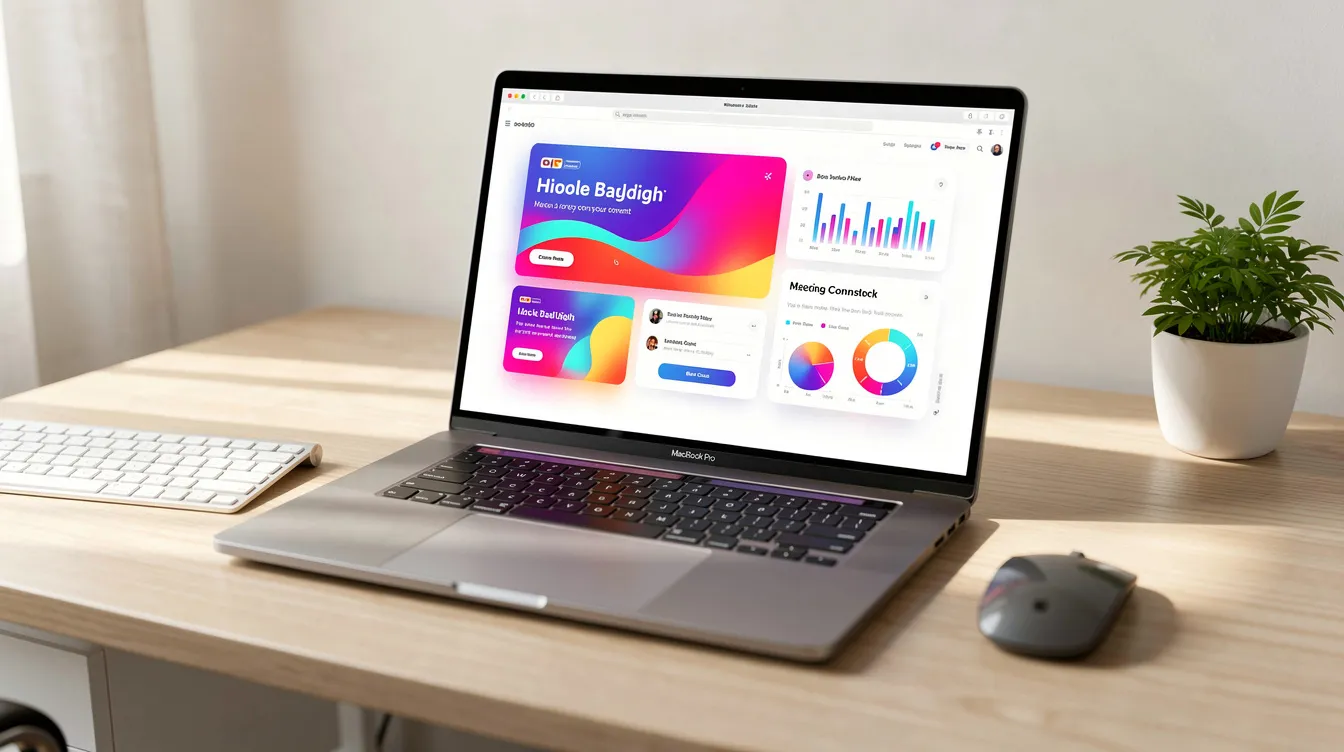
Recording your Mac's screen is simple with the built-in Screenshot tool. Press Shift-Command-5 to open the controls, where you can select to record your entire screen or a specific portion. Click "Record" to start, and use the stop button in the menu bar to finish the video.
This built-in recorder is perfect for quick captures, but for professional results that include your computer's own audio, automatic editing, and high-resolution exports, you'll need a more advanced tool. This guide covers both the native macOS methods and the next-generation tools for creating polished screen recordings.
How to Record Your Screen on a Mac Using the Built-in Tool
Your Mac comes with a powerful, pre-installed utility for screen captures called Screenshot. It's the fastest way to record your screen without installing any software.
Here’s the step-by-step process:
- Open the Screenshot Toolbar: Press the keyboard shortcut Shift-Command-5. A control bar will appear at the bottom of your screen.
- Choose Your Recording Area:
- Record Entire Screen: Click the icon that looks like a screen with a solid outline and a circle in the corner.
- Record Selected Portion: Click the icon that looks like a screen with a dotted outline and a circle in the corner. You can then drag the handles to select the exact area you want to capture.
- Configure Options: Before you record, click the "Options" menu. Here you can:
- Save to: Choose where your final video file will be saved (Desktop is the default).
- Timer: Set a 5 or 10-second delay before recording starts, giving you time to prepare.
- Microphone: Select a connected microphone if you want to record your voice. We'll cover audio in more detail next.
- Start and Stop Recording: Click the "Record" button. A small stop icon (a circle with a square inside) will appear in your Mac's menu bar at the top of the screen. When you're finished, click this icon to stop the recording.
Your video file will automatically appear in the location you selected in Step 3. You can click the thumbnail that briefly appears in the bottom-right corner to trim the video or share it immediately.
How Do I Record My Mac Screen with Audio?
Recording your screen with your own voiceover is straightforward, but capturing sounds made by your Mac is a common challenge. macOS's built-in tools can handle one but not the other.
Recording Microphone Audio (Your Voice):
This is the easy part. Using the Shift-Command-5 utility, simply click the "Options" menu and select your desired microphone from the list. This could be your MacBook's internal microphone or an external one connected via USB. Once selected, your voice will be captured along with the screen video.
Recording Application Audio (Computer Sounds): Natively, the Screenshot utility and QuickTime Player cannot record your Mac's internal audio output (e.g., sound from a YouTube video, a game, or app notifications). This is a privacy and security feature of macOS. To capture sounds from your applications, you need a dedicated third-party application that is specifically designed to handle this task, often by installing a special audio driver.
Using QuickTime Player for Screen Recordings
Before the Screenshot utility was enhanced, QuickTime Player was the go-to app for screen recording on macOS. It's still available and offers a similar set of features.
- Open QuickTime Player from your Applications folder.
- From the menu bar, select
File > New Screen Recording. - This will open the exact same Screenshot control bar that the
Shift-Command-5shortcut does.
Functionally, there is very little difference between starting a recording from QuickTime versus using the keyboard shortcut. Both methods use the same underlying macOS tool and have the same limitations, most notably the inability to record the computer's sound.
Built-in Tools vs. Dedicated Apps: A Quick Comparison
The free, built-in Mac tools are convenient for simple tasks. But for creating tutorials, product demos, or any content that needs to look professional, their limitations become clear. Here’s how they stack up against a dedicated screen recording app.
| Feature | Screenshot Utility / QuickTime | Dedicated Apps (like Cinemak) |
|---|---|---|
| Cost | Free (Built-in) | Free (with optional paid add-ons) |
| Computer Audio Recording | No | Yes |
| Automatic Polishing | No (Manual editing required) | Yes (Auto-zoom, cursor smoothing) |
| Maximum Quality | Varies by display | Up to 4K / 60fps |
| Editing | Basic trim/split only | Timeline-free reframing, trimming |
| Hosting & Sharing | None | Yes (Shareable links, analytics) |
For Polished Recordings: The Free, Professional Method
While the built-in tools are a starting point, achieving a polished, professional result often requires hours of tedious post-production work—manually adding zooms, cleaning up cursor movements, and stitching clips. This is where modern, dedicated tools provide a significant advantage.
Cinemak is a free screen recorder for macOS designed for founders, creators, and product teams who need polished, high-quality videos without the complex editing workflow. It automates the most time-consuming parts of creating a great screen recording.
The moment you stop recording, Cinemak automatically polishes the video with features like:
- Auto-Zoom: Intelligently zooms in on the action, highlighting clicks and important details so your viewers never miss a thing.
- Cursor Smoothing: Smooths out jerky mouse movements for a clean, professional-looking presentation.
- Custom Backgrounds: Instantly adds a polished background to your recording, perfect for branded content.
Best of all, the core app is completely free. The free plan offers unlimited recording and editing with no account required and lets you export your final video in stunning 4K resolution at 60 frames per second.
Stop wrestling with basic tools and start creating polished demos in seconds. Download Cinemak for free and see the difference automated editing makes.
Beyond Recording: Sharing, Analytics, and AI
For users who need to host, share, and analyze their videos, Cinemak offers optional paid add-ons that transform it from a simple recorder into a full video platform.
- Cinemak Cloud: For $9 per month or $84 per year, you can host your videos, generate shareable links, get viewer analytics, and collect comments and reactions directly on the video player. This is ideal for team collaboration and customer support videos.
- AI Credits: For advanced use cases, pay-as-you-go AI Credits unlock powerful features like voice translation into over 20 languages and AI avatar lip-sync, allowing you to localize your content for a global audience with minimal effort.
The application is built for modern Macs, requiring macOS 14+ and running natively on both Apple Silicon and Intel processors.
FAQ
How to record video on Mac with sound?
A: To record your voice, press Shift-Command-5, click "Options," and select your microphone. To record your Mac's internal audio (e.g., app sounds), you must use a dedicated app like Cinemak, as the built-in macOS tools do not support this feature.
What button to press to screen record on MacBook?
A: Press the keyboard shortcut Shift-Command-5 simultaneously. This will open the Screenshot toolbar at the bottom of your screen, which contains all the controls for screen recording and screenshots.
How to screen record on Mac with PC keyboard?
A: You can still use the shortcut with a Windows or PC keyboard. Press Shift + Windows Logo Key + 5. The Windows Logo Key serves the same function as the Command key on a Mac keyboard for most system-level shortcuts.