Quick answer: pick one onboarding goal, write a short bullet script, set up a clean demo account, grant your recorder the Mac permissions it needs, record one task per video at a slow pace, trim the mistakes, then share it as a link or embed. You can start with whatever screen recording your Mac already offers; a dedicated recorder may help if you need features such as zoom, cleaner cursor movement, editing or hosting.
This guide is tool-agnostic. Apple's own documentation wasn't part of the sources used here, so check Apple's help pages for the built-in capture tools and their exact limits.
Before you record
Onboarding videos that try to teach everything tend to confuse viewers, so narrow the scope before you record.
- One goal per video. Phrase it as an outcome: "Invite your first teammate," not "Tour of settings."
- One new-user task. Choose the first thing a new customer must do to get value.
- A bullet outline, not a script to read aloud. Write the outcome, the 4–7 actions, and the next step.
- A clean demo account. Use realistic but fake data. Never record real customer names, emails or billing details.
- A clean desktop. Hide unrelated windows, personal bookmarks and open tabs, and use a neutral wallpaper.
Mac setup: permissions, notifications, audio
Screen recorders on macOS generally need permission to capture your display, and to use the microphone if you narrate. These are managed in System Settings › Privacy & Security. As one documented example, Cinemak's site says it asks for Screen Recording and Accessibility (to track the cursor and clicks) on first launch, and requests Camera and Microphone only when you record your webcam or voice. Other tools will differ, so read what yours asks for.
Before every session:
- Turn on Do Not Disturb so notifications don't appear mid-recording.
- Quit chat, email and calendar apps.
- Pick a window size or display resolution that stays legible on a laptop screen. Larger UI text beats a crowded 4K desktop.
- Do a 10-second test with your microphone, play it back with headphones, and check for echo, fan noise and clipped words.
- Make sure the product is logged into the demo account and starts at the right screen.
Structure of a good walkthrough
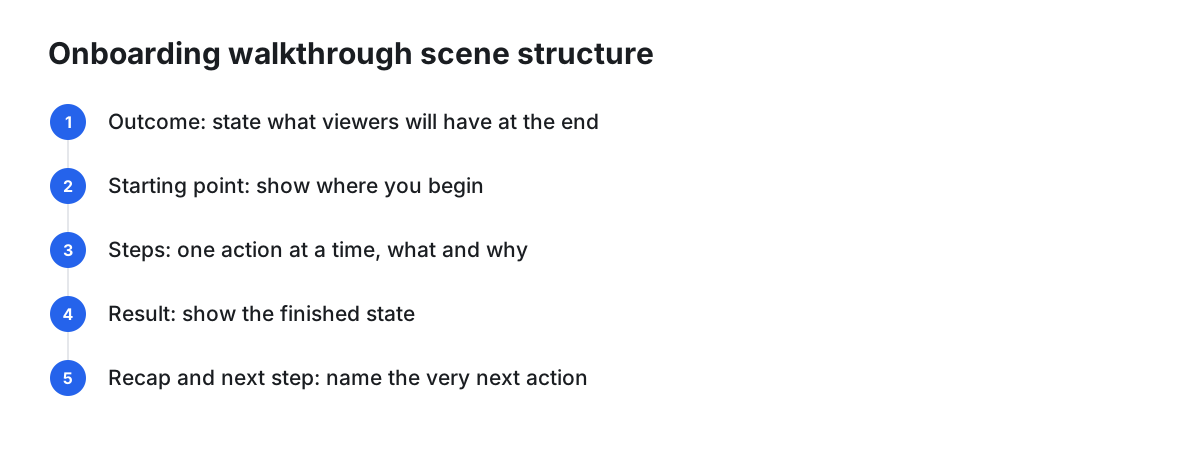
A simple scene-by-scene shape works for most onboarding videos:
| Scene | What to do | Example line |
|---|---|---|
| 1. Outcome | State what the viewer will have at the end | "In two minutes you'll have your first project set up." |
| 2. Starting point | Show where you begin | "Start on the dashboard." |
| 3. Steps | One action at a time, say what and why | "Click New project, so your work has a home." |
| 4. Result | Show the finished state | "Here's your project, ready for teammates." |
| 5. Recap and next step | Name the very next action | "Next, invite a teammate. That video is linked below." |
Keep each video focused on a single task. If you find yourself saying "also," that is probably a second video.
Recording tips
- Move the cursor slowly and deliberately. Point at the thing, pause, then click.
- Pause between steps. It gives you clean edit points and gives viewers time to follow.
- Narrate the what and the why. "Click Save" is less useful than "Click Save so your changes sync to the team."
- Don't fix small slips mid-take. Pause, repeat the sentence, and cut it later.
- Optional webcam intro. A few seconds of your face at the start can add warmth; keep it short and drop the camera during the demo.
Choosing a method
There are three broad routes. None is best for everyone; decide with these criteria: editing needs, hosting and sharing, analytics, localization, effort to update, privacy and cost.
- Built-in macOS capture. Good for fast, informal clips and zero setup. You'll typically trim and share the file yourself, and you handle hosting separately.
- Screen recorders with polish features. Useful when you want automatic zoom, smoother cursor motion, backgrounds, an editor and a place to host. They add a tool to learn and, for some features, a paid plan.
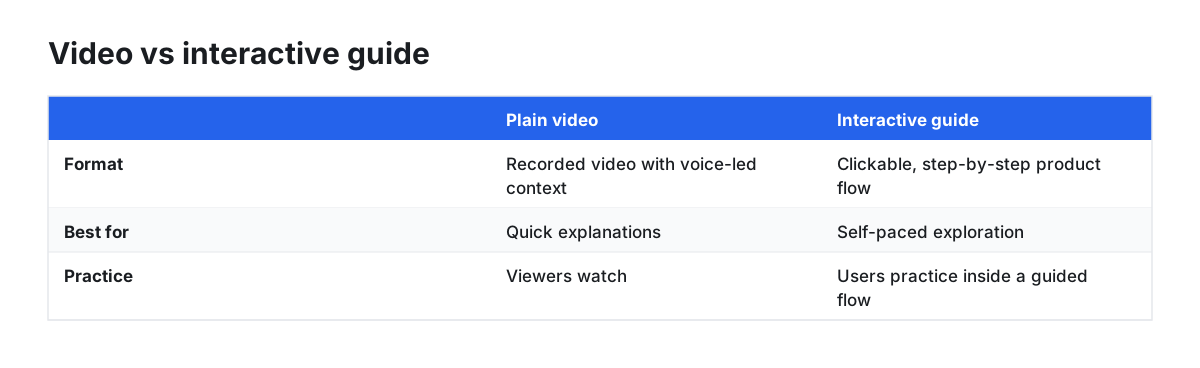
- Interactive demo or guide tools. These turn a product flow into a clickable, step-by-step experience instead of a video. Tourial's product page, for example, describes interactive walkthroughs with engagement tracking, though its performance claims are the vendor's own and unverified here. They suit self-paced exploration; a plain video suits quick explanations and voice-led context.
When standard tools are enough: short internal or low-volume videos, a stable UI, and a team happy to upload files to its own help center. When extra features help: you record often, need viewers to see small UI details (zoom), want to know whether people watched (viewer analytics), or need versions for other languages.
Be cautious about performance promises. Treat vendor claims about engagement as claims, not proof that a given format or length will improve your activation.
Editing and polishing
- Trim dead air, false starts and mistakes.
- Zoom into the area of the screen being clicked so small UI is readable.
- Add captions so the video works with sound off.
- Export at a resolution that matches where it will be watched; a crisp 1080p is often plenty for a help center, and a higher setting helps when viewers will go full screen.
Sharing and hosting
Decide where viewers will actually meet the video: a link in a welcome email, an embed on a help-center article, or a spot inside the product. Also decide where the master file lives, because you will need it again when the UI changes. Keep a shared folder with a consistent naming scheme, and store the outline next to each video.
Test before you publish
- New-user dry run. Ask someone unfamiliar with the product to follow the video and complete the task. Note every place they pause or rewind.
- Sound-off check. Watch the whole video muted. Can you still follow it through captions, zooms and on-screen cues?
- UI match. Compare each step against the live product. Labels, button positions and plan names must match.
- Watch support questions. After publishing, note whether questions on that task change. This is a signal for you to read, not a guaranteed outcome.
Keep videos current
- Name files by task and version, such as
invite-teammate_v3. - Record the date and the product version in your tracking sheet, not necessarily on screen.
- Review on a schedule and after any UI change touching that task.
- Keep videos short; they are quicker to re-record than a 10-minute tour.
Optional: using Cinemak for this workflow
If you want one Mac app that records, polishes and hosts, Cinemak is one option. According to its own site, it's a free macOS recorder (macOS 14 or later) with auto-zoom, cursor smoothing, custom backgrounds, a timeline editor and MP4 export up to 4K/60fps; free exports carry a small watermark. Its privacy policy states that recordings are edited locally and aren't uploaded unless you choose to share them through Cinemak Cloud. Per its terms, the free plan hosts up to 3 videos, while Cinemak Pro (listed at $9 per month or $84 per year on its site) adds unlimited hosting, embeds, and viewer comments. These are company claims, so try the free app on one real walkthrough before committing.
FAQ
How long should an onboarding video be? There is no verified ideal length in the sources here. Aim for as long as the single task needs and no longer.
Do I need a script? A bullet outline is usually enough, and it sounds more natural than reading word for word.
Video or interactive guide? Use video for quick, voice-led explanations; consider an interactive tool when you want users to practice inside a guided flow.