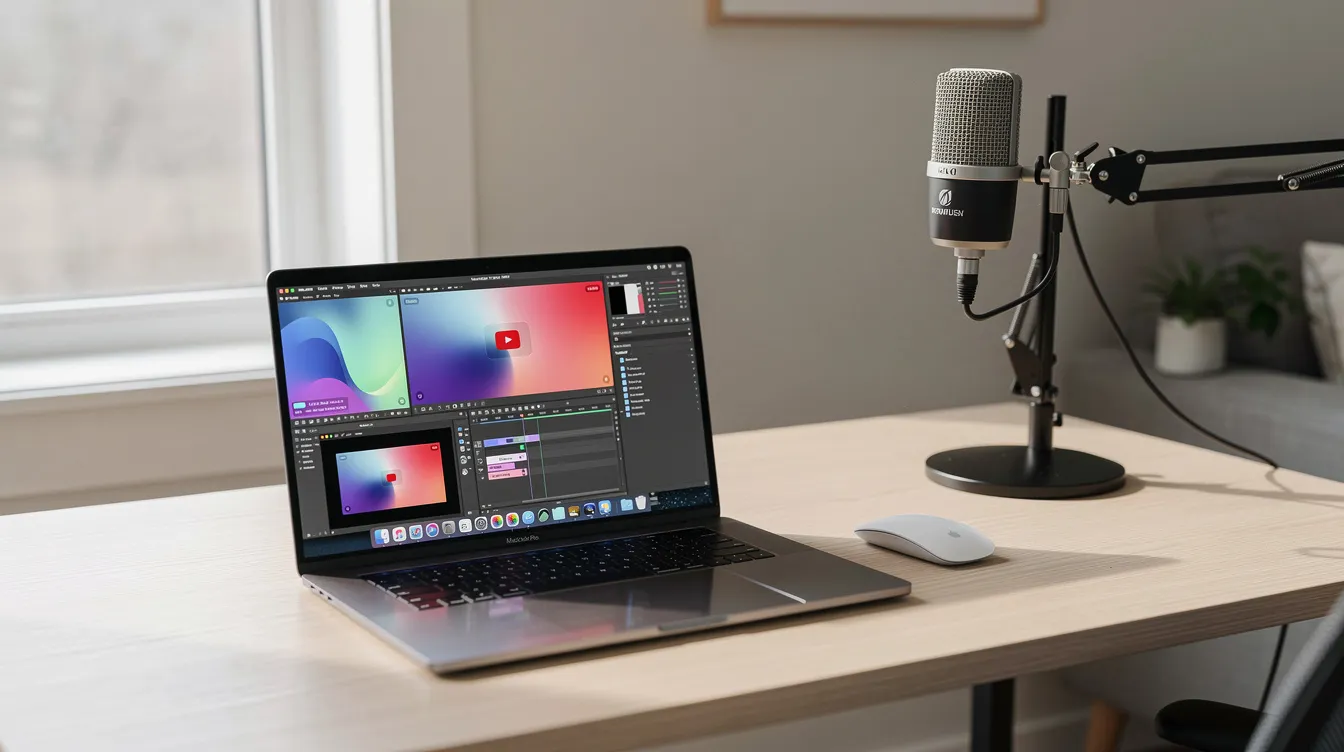
To screen record on a Mac with audio, press Cmd + Shift + 5 to open the Screenshot toolbar. Click ‘Options’ and select your microphone under the ‘Microphone’ section. To record internal system audio, you need a third-party tool, as macOS doesn't offer this feature natively.
Screen capture is essential for creating product demos, tutorials, or bug reports. While recording video is straightforward, capturing the right audio—whether it's your voice, the computer's sound, or both—can be challenging. This guide provides a definitive walkthrough for every scenario.
How to Screen Record on Mac with Microphone Audio
Recording the Mac's display with a voiceover is the most common use case, and thankfully, macOS has a simple, built-in tool for it. This method is perfect for narrating a presentation or explaining steps on screen.
The Screenshot toolbar is a feature integrated into macOS that provides controls for capturing screenshots and screen recordings. You can access it with a simple keyboard shortcut.
- Open the Recording Controls: Press
Command + Shift + 5on your keyboard. A control panel will appear at the bottom of the display. - Choose Your Recording Area: You have two options for video:
- Record Entire Screen: Click the icon that looks like a screen with a solid outline.
- Record Selected Portion: Click the icon that looks like a screen with a dotted outline. You can then drag the handles to select the specific area you want to capture.
- Select Your Audio Source: Click the ‘Options’ button in the control panel. In the ‘Microphone’ section, select your desired microphone. This can be the ‘MacBook Pro Microphone’ or any external USB microphone you have connected. A checkmark will appear next to your selection.
- Start Recording: Click the ‘Record’ button. A recording icon (a circle with a square inside) will appear in your Mac's menu bar at the top of the screen.
- Stop Recording: When you’re finished, click the recording icon in the menu bar. Alternatively, you can press
Command + Control + Escape.
After you stop, a thumbnail of the video will appear in the bottom-right corner of the display. You can click it to trim the video or share it immediately. If you do nothing, it will save to your Desktop by default.
The Challenge: Recording Your Mac's Internal System Audio
What if you want to record the audio from a video playing on your Mac, a game's sound effects, or system notifications? You'll quickly discover that the built-in screen recorder has no option for 'Internal Audio.'
This isn't a bug; it's a feature. For privacy and security reasons, macOS intentionally prevents applications from easily capturing the system's own audio output. This design, known as audio sandboxing, stops rogue apps from eavesdropping on other applications. To capture system sound, you must create a virtual audio device that can reroute the audio output and make it available as an input source.
Method 1: Use QuickTime + BlackHole (The Free, Technical Method)
For those who need a free solution and aren't afraid of some configuration, you can combine the built-in QuickTime Player with a free, open-source virtual audio driver called BlackHole.
BlackHole is a utility that creates a virtual audio device on your Mac. You can send audio out to BlackHole from one application (or the entire system) and then use BlackHole as the audio input for another application, like QuickTime.
Here’s the step-by-step process:
- Install BlackHole: Download and install the latest version of BlackHole from its official source. Follow the installation instructions.
- Open Audio MIDI Setup: This is a utility application on your Mac. You can find it in
Applications > Utilities, or by searching for it with Spotlight (Cmd + Space). - Create a Multi-Output Device: This step is crucial for hearing the audio yourself while it's also being sent to BlackHole for recording.
- In the Audio MIDI Setup window, click the
+button in the bottom-left corner and select ‘Create Multi-Output Device’. - In the panel that appears, check the boxes for both ‘BlackHole’ and your primary audio output (e.g., ‘MacBook Pro Speakers’ or ‘External Headphones’).
- Important: Check the ‘Drift Correction’ box for your primary audio output (the speakers/headphones), but not for BlackHole.
- In the Audio MIDI Setup window, click the
- Set Your Mac's Sound Output: Open ‘System Settings’ > ‘Sound’. Under ‘Output’, select the ‘Multi-Output Device’ you just created. Now, your Mac’s audio will play through your speakers and be routed to the virtual BlackHole device.
- Configure QuickTime Player:
- Open QuickTime Player.
- Go to
File > New Screen Recording(or pressControl + Command + N). - The same recording controls from the Screenshot toolbar will appear.
- Click the ‘Options’ menu and, under ‘Microphone’, select ‘BlackHole’.
- Record and Clean Up: Click ‘Record’ to capture the on-screen activity and the internal audio. When you're done, stop the recording. Don't forget to go back to System Settings > Sound and change your output back to your standard speakers or headphones.
This method works, but it's cumbersome. You have to re-configure your sound settings every time you want to record, and it can be prone to issues if not set up correctly.
Comparison: Native Tools vs. Dedicated Screen Recorders
Choosing the right method depends on your needs. A quick voiceover has different requirements than a polished product demo that needs both system audio and high-quality editing.
| Feature | Screenshot Toolbar | QuickTime + BlackHole | Cinemak (Dedicated App) |
|---|---|---|---|
| Microphone Audio | Yes (Built-in) | Yes (Built-in) | Yes (Built-in) |
| Internal System Audio | No | Yes (Complex Setup) | Yes (Built-in, no setup needed) |
| Simultaneous Mic & System | No | Extremely complex to set up | Yes (Built-in, separate tracks) |
| Cursor Smoothing | No | No | Yes (Automatic) |
| Auto-Zoom on Clicks | No | No | Yes (Automatic) |
| Editing | Basic Trim | Basic Trim | Timeline-free editing, custom backgrounds, branding |
| Export Quality | HD | HD | Up to 4K / 60fps |
| Hosting & Sharing | No | No | Yes (with Cinemak Cloud, includes analytics) |
Method 2: Use a Dedicated App for Flawless Audio Recording
While the BlackHole method is a clever workaround, its complexity is a significant drawback. For anyone who regularly creates screen recordings—like founders, product managers, or content creators—the time spent on technical setup is time not spent on creating valuable content.
Modern screen recording apps are designed to eliminate this friction entirely. They handle all the complex audio routing behind the scenes, so you can record what you want with a single click.
Cinemak is a macOS screen recorder built to solve this exact problem and more. It comes with its own audio driver that installs seamlessly, allowing you to capture internal audio, microphone audio, or both simultaneously without ever opening Audio MIDI Setup. You simply select your desired sources from a dropdown menu and press record.
But it goes further than just solving the audio problem. The entire workflow is designed for polish and speed:
- Automatic Polish: It automatically smoothes your cursor movements and adds dynamic zoom effects around your clicks, creating a professional-looking tutorial without any manual editing.
- Studio Quality: Record in up to 4K resolution at a buttery-smooth 60 frames per second.
- Effortless Editing: A unique timeline-free editor lets you change backgrounds, add branding, and tweak your video in seconds.
- Instant Sharing: With Cinemak Cloud, you can host your videos and get a shareable link, complete with viewer analytics and feedback tools.
This integrated approach saves hours of setup and tedious post-production work, letting you focus on creating clear, compelling screen recordings. You can download Cinemak for free and experience seamless screen recording with audio on your Mac.
FAQ
Do the screen recorder on Mac have audio included?
Yes, the built-in screen recorder on Mac (accessed via Cmd + Shift + 5 or QuickTime) can record audio from a connected microphone. However, it does not include the ability to record internal system audio (the sounds your computer makes) by default.
How do I record my screen including audio?
To record the display with your voice, press Cmd + Shift + 5, click 'Options', and select your microphone. To record on-screen content with internal system audio, you must use a virtual audio driver like BlackHole with QuickTime or use a dedicated third-party app that handles this automatically.
Why can't I hear sound when I screen record on Mac?
There are two common reasons. First, you may not have selected an audio source in the 'Options' menu of the screen recording controls. Second, if you are trying to record your computer's internal audio, it won't be captured by the native tools, resulting in a silent video.
How to record video and audio at the same time on Mac?
All Mac screen recording methods record video and audio simultaneously. The key is to configure the audio source before you start recording. For the built-in recorder, this means selecting a microphone. For more advanced recording, this means setting up a virtual audio device or using an app that can capture multiple sources at once.