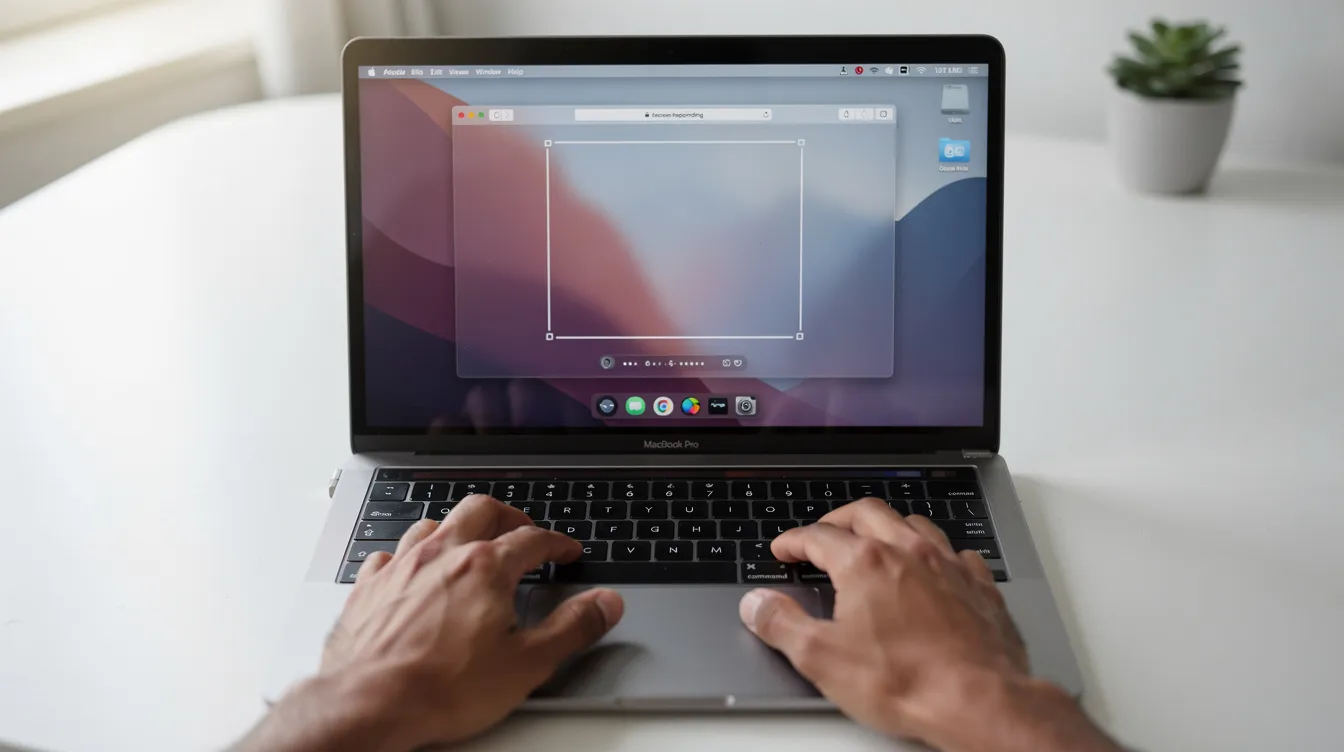
The main macOS screen recorder shortcut is Command + Shift + 5. This command opens the Screenshot and screen recording toolbar, giving you precise controls to capture video of your entire display or just a selected portion. It's the fastest way to start a screen capture on any modern Mac.
All macOS Capture Shortcuts: Beyond Just Video
While Command + Shift + 5 is the master key for screen recording, macOS has a family of shortcuts for capturing your screen. Understanding all three is essential for maximum efficiency. They all save to your Desktop by default.
| Shortcut | Action | Best For |
|---|---|---|
Command + Shift + 3 |
Captures the entire screen | Instantly saving exactly what you see on all connected displays. |
Command + Shift + 4 |
Captures a selected portion | Grabbing a specific chart, paragraph, or area with precision. |
Command + Shift + 5 |
Opens the capture toolbar | Recording video, setting a timer, or choosing advanced capture options. |
Pressing Cmd + Shift + 4 turns your cursor into a crosshair. Simply click and drag to select an area. For an expert-level trick, after dragging your selection, press and hold the Spacebar to move the entire selection box around your screen before letting go to capture.
How to Record Your Screen: Step-by-Step
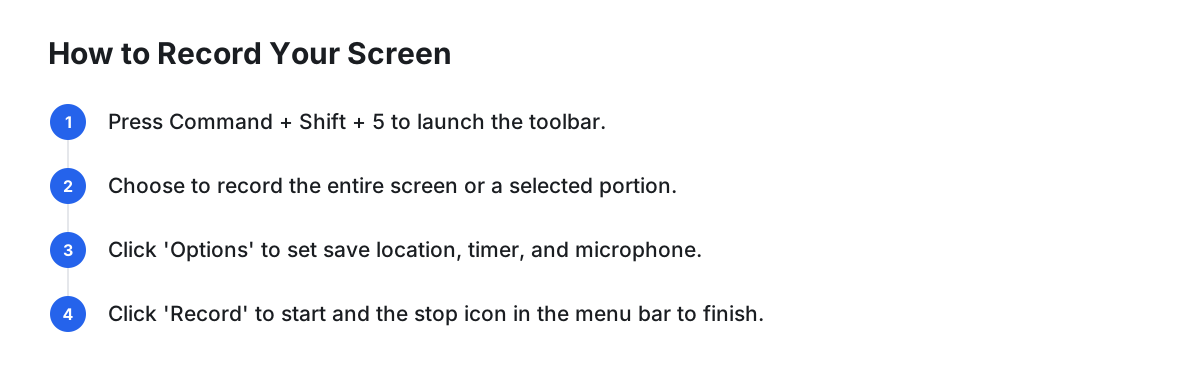
Using the Command + Shift + 5 shortcut is simple once you know the controls. Here’s a detailed walkthrough.
- Launch the Toolbar: Press
Command + Shift + 5. A control bar will appear at the bottom of your display. - Choose Your Recording Area:
- Record Entire Screen: Click the icon showing a screen with a solid outline and a small circle. Your cursor will become a camera icon. Click any screen to begin recording it.
- Record Selected Portion: Click the icon showing a dashed outline with a circle. A resizable box will appear. Drag the edges to frame the exact area you need.
- Configure Your Options: Before you hit record, click the Options menu. This is a crucial step.
- Save to: Choose where your final video file will be saved (Desktop, Documents, etc.).
- Timer: Set a 5 or 10-second countdown to prepare your screen before capture begins.
- Microphone: Select a microphone if you want to record your voice.
- Show Mouse Clicks: Check this to create a visual highlight around your cursor every time you click.
- Start and Stop Recording: Click the Record button. To stop, click the small stop icon (a circle with a square inside) that appears in your Mac's top menu bar. Alternatively, use the shortcut
Command + Control + Escape.
How to Record System Audio on Your Mac (The Missing Feature)
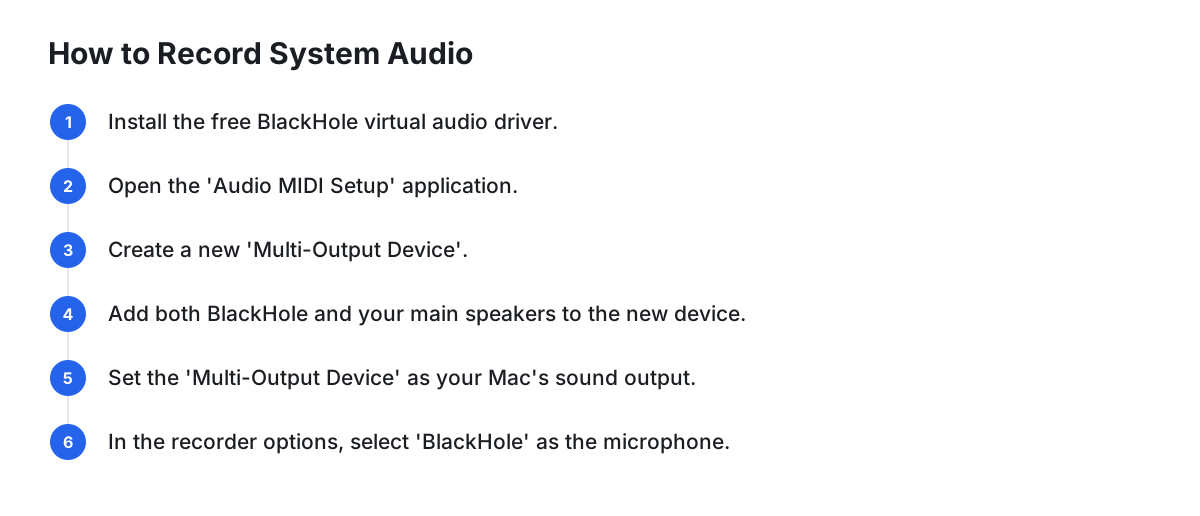
The built-in recorder can capture your voice via a microphone, but it cannot record your Mac's internal audio (e.g., sound from a YouTube video or a game). This is a common frustration. Here is the standard, free solution.
This method uses a free open-source tool called BlackHole. It creates a virtual audio device that routes sound from your Mac's output back in as an input, allowing the screen recorder to capture it.
- Install BlackHole: Download and install BlackHole from the developer's website. Use the 2-channel version for most use cases.
- Open Audio MIDI Setup: Use Spotlight (
Command + Space) to search for and open the "Audio MIDI Setup" application. - Create a Multi-Output Device: In the bottom-left corner of the Audio MIDI Setup window, click the
+icon and select "Create Multi-Output Device". - Configure the Device: In the new device's panel, check the boxes for both "BlackHole 2ch" and your regular audio output (e.g., "MacBook Pro Speakers" or your headphones). Important: Make sure your primary speakers/headphones are selected as the "Master Device" in this setup.
- Set Your System Audio Output: Go to
System Settings > Sound. Under "Output," select the "Multi-Output Device" you just created. You should now hear audio normally through your speakers/headphones. - Select BlackHole in the Recorder: Press
Command + Shift + 5, click "Options," and under the Microphone section, choose "BlackHole 2ch".
Now, when you record, your Mac's system audio will be captured in the video.
How to Edit Your Screen Recording in QuickTime
After you record, a thumbnail appears in the corner. Clicking it opens the video in QuickTime Player, which has basic but powerful editing tools perfect for quick cleanups.
- Trimming (
Command + T): The most common edit. PressCommand + Tto open the trim bar. Drag the yellow handles at the beginning and end to remove unwanted sections, then click "Trim." - Splitting Clips (
Command + Y): Need to remove a mistake in the middle? Move the playhead to where you want to cut and pressCommand + Y. This splits the video into two clips. You can split it again later and delete the unwanted segment between the two cuts. - Saving Your Edits: Go to
File > SaveorFile > Export Asto save your trimmed video. Exporting gives you more control over the final resolution (4K, 1080p, etc.).
When to Use a Third-Party Screen Recorder: Top 4 Alternatives
The built-in tool is great for simple tasks, but dedicated apps offer more power, better workflows, and professional features. Here’s how the best options compare.
| Tool | Best For | Key Features | Pricing | Pros / Cons |
|---|---|---|---|---|
| Cinemak | Automatically polished demos & tutorials | Auto-zoom, cursor smoothing, 4K/60fps export, integrated hosting & AI translation. | Free for unlimited recording & local export. Paid plans for cloud hosting & AI features. | Pro: Instantly creates polished videos without manual editing. Con: Advanced AI/cloud features require payment. |
| Loom | Quick, shareable team communication | Instant cloud link sharing, viewer comments, transcription, team library. | Free plan with limits (25 videos/person, 5 min/video). Paid plans from $12.50/user/mo. | Pro: Extremely fast for sharing async video messages. Con: Limited editing; focused on communication over polished production. |
| CleanShot X | All-in-one screenshot & recording tool | Advanced annotation, scrolling capture, cloud uploads, customizable hotkeys. | One-time purchase of $29. Optional cloud subscription for $10/mo. | Pro: Excellent screenshot tool with good recording features. Con: Video editing is more basic than dedicated video apps. |
| OBS Studio | Live streaming & complex productions | Scene composition, multiple sources (webcam, windows), advanced audio mixing. | Free and open source. | Pro: Unmatched power and flexibility for free. Con: Steep learning curve; overkill for simple recordings. |
For users who need to create high-quality product demos without spending hours in a video editor, Cinemak offers a unique advantage. Its free recorder automatically applies auto-zoom and cursor smoothing the moment you stop, delivering a polished 4K/60fps file instantly. For those who want an all-in-one solution, the platform also includes hosting, analytics, and AI features. Try Cinemak's free recorder for a faster path from capture to finished video.
FAQ
How do I change where Mac screen recordings are saved?
Press Command + Shift + 5 to bring up the toolbar. Click on the "Options" menu. Under the "Save to" section, you can choose a different default location, such as Documents, another folder, or even have it copied to the Clipboard.
Can I record just one specific app window?
Yes. While the Cmd + Shift + 5 video tool requires you to draw a box, the fastest way to capture a screenshot of a single window is to press Cmd + Shift + 4, then press the Spacebar. Your cursor will turn into a camera. Click on any window to capture it perfectly with a clean border and shadow.
Why is my Mac screen recording file so large?
Screen recordings, especially of high-resolution Retina displays, can be very large because they capture a huge number of pixels at a high frame rate. To reduce file size, you can record a smaller portion of the screen, or after recording, use QuickTime Player's File > Export As menu to save the video at a lower resolution like 1080p.
What is the best free screen recorder for Mac?
The best free tool depends on your needs. For maximum power, flexibility, and live streaming, OBS Studio is the undisputed professional choice. For creating polished-looking tutorials and demos with minimal effort, Cinemak's free tier is ideal as it provides automatic zooming and cursor smoothing without any cost.