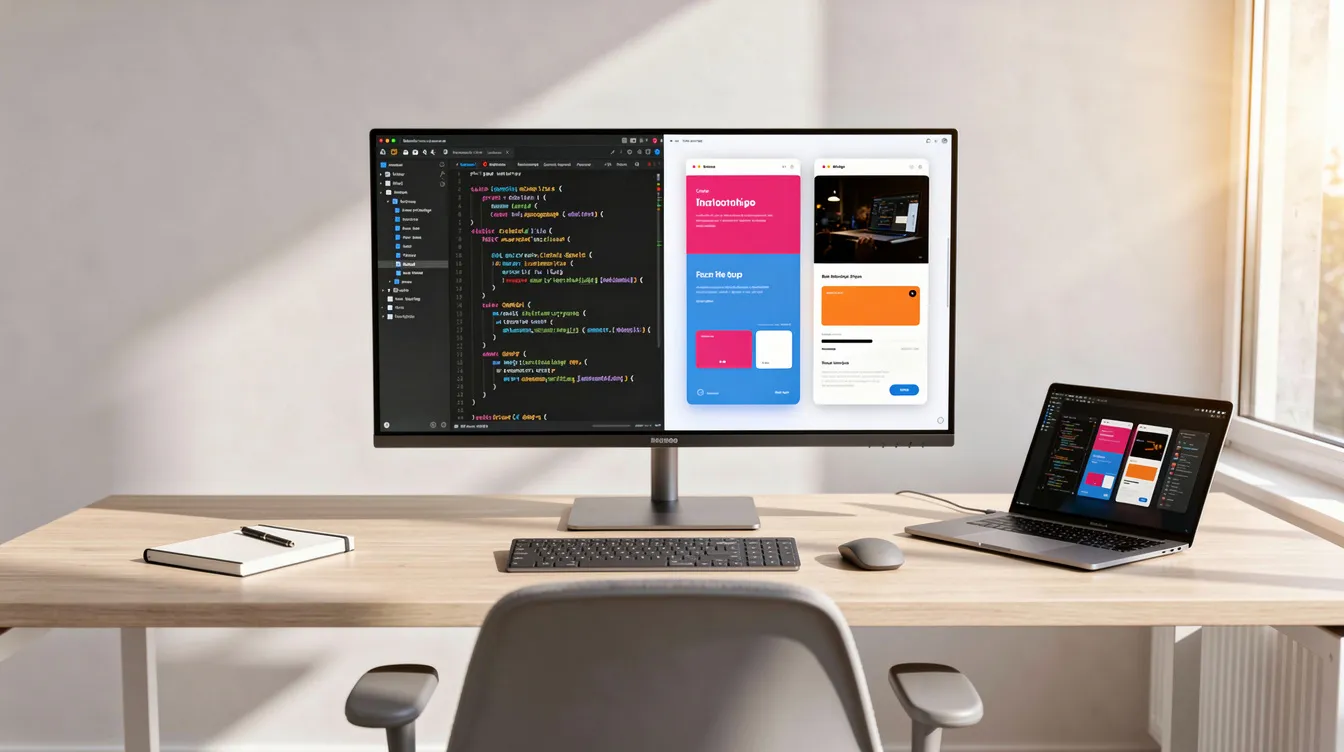
OBS Studio is a free, open-source program for high-quality video capture and live streaming. It's famous for its powerful customization options, allowing users to combine multiple video and audio sources. However, its professional-grade flexibility comes with a significant learning curve, making it overkill for many common recording tasks.
What is OBS Studio?
OBS (Open Broadcaster Software) Studio is a free and open-source application designed for capturing, compositing, encoding, recording, and streaming video content. Available for Windows, macOS, and Linux, it has become the de facto standard for live streamers on platforms like Twitch and YouTube. Its power lies in its modularity: you can create complex scenes by layering different sources, such as your display, webcam, images, and application windows, and switch between them seamlessly.
For capturing your screen, this means you can produce high-fidelity video files with no watermarks or time limits. You have granular control over every aspect of the recording, from video resolution and framerate to audio encoding and file format. This makes it a favorite among technical users, gamers, and developers who need precise control over their video capture.
How to Use OBS for Screen Recording: A Step-by-Step Guide
While powerful, OBS is not a plug-and-play tool. Getting a clean capture of your screen requires a specific setup process. Follow these steps to configure OBS Studio correctly for recording your screen.
- Download and Install: Visit the official OBS Project website to download the installer for your operating system (Windows, macOS, or Linux). Run the installer and follow the on-screen prompts.
- Run the Auto-Configuration Wizard: On first launch, OBS will prompt you to use the Auto-Configuration Wizard. Select "Optimize just for recording, I will not be streaming." This will automatically test your system and apply recommended settings for high-quality, local recordings.
- Create a Scene: By default, OBS starts with an empty scene. Scenes are like different layouts for your recording. You can keep the default scene or rename it by right-clicking. For example, you might create one scene for your full screen and another for your screen plus a webcam.
- Add a Source: With a scene selected, go to the "Sources" dock (usually at the bottom) and click the
+icon. To record your screen, you'll choose either:- Display Capture: This captures your entire monitor. If you have multiple monitors, you can choose which one to record.
- Window Capture: This captures a single, specific application window. This is useful for focusing on one program and avoiding notifications or other desktop clutter.
- Configure Audio: In the "Audio Mixer" dock, you'll see sources like "Desktop Audio" and "Mic/Aux." By default, OBS captures your computer's system sounds and your default microphone. You can click the gear icon next to any source to adjust its volume or add filters.
- Review Recording Settings: Go to
File > Settings > Output. In "Output Mode," select "Simple." Here you can set the "Recording Path" (where files are saved), "Recording Quality," and importantly, the "Recording Format." It's highly recommended to change this from the defaultmkvtomp4ormov, as these formats are more widely compatible with video editors. - Start Recording: Once your scene, sources, and audio are configured, simply click the "Start Recording" button in the "Controls" dock. When you're finished, click "Stop Recording." Your video file will be saved to the location you specified in the settings.
Is OBS the Best Choice for Your Screen Recordings?
OBS is undeniably powerful, but whether it's the best tool depends entirely on your needs. Its strength—infinite customizability—is also its biggest weakness for users who need to produce polished content quickly. The workflow requires significant manual setup and a separate video editor to turn the raw recording into a final product.
For streamers who need to manage live overlays, alerts, and multiple camera feeds, this complexity is necessary. For a founder recording a product demo or a creator making a tutorial, it can be a significant bottleneck. The time spent configuring scenes, tweaking audio filters, and then exporting the raw file to another application for editing can be substantial.
| Feature | OBS Studio | Cinemak |
|---|---|---|
| Primary Use Case | Live streaming & complex recording setups | Polished product demos & tutorials |
| Ease of Use | Steep learning curve, requires manual config | Beginner-friendly, automated polishing |
| Editing | None built-in (requires separate software) | Built-in timeline-free editor |
| Automatic Polishing | No | Auto-zoom, cursor smoothing, custom backgrounds |
| Platform | Windows, macOS, Linux | macOS only |
| Price | 100% Free & Open Source | Free core recorder, paid cloud/AI add-ons |
| Ideal User | Streamers, technical users needing full control | Product teams, creators needing speed & polish |
| Output Quality | Up to 4K/60fps (manual setup) | Up to 4K/60fps (default) |
The Missing Piece: OBS Lacks Editing and Automatic Polish
OBS does one job: capturing video and audio. It does this job exceptionally well, but it stops there. The video file it produces is completely raw. There's no built-in way to trim mistakes, add zooms to highlight key details, or clean up messy cursor movements. To do any of this, you must import your recording into a separate video editing application like DaVinci Resolve, Adobe Premiere Pro, or Final Cut Pro.
This two-step process (capture, then edit) is a major time sink. It forces you to learn and manage multiple complex tools. For professional video editors, this is standard practice. But for product managers, engineers, or founders who just need to create a clean, compelling demo video, this workflow is inefficient and often a barrier to creating content at all.
A Modern Alternative: Integrated Recording and Polishing
For macOS users who value speed and a polished final product, a modern screen recorder can eliminate the multi-tool hassle. A tool built as a single pipeline for capture, polish, and sharing can be a far more efficient solution.
Cinemak is designed to solve this exact problem. While OBS gives you raw components, Cinemak delivers a finished product. The moment you stop recording, it automatically applies professional polish. Features like automatic zoom that follows your on-screen action, cursor smoothing for clean movements, and custom backgrounds are applied instantly. This means your video is ready to share in seconds, not hours.
The core Cinemak app for macOS is free and includes unlimited recording and export in up to 4K resolution at 60 frames per second, with no account required. For those who need to go beyond just a video file, paid add-ons provide a complete workflow for hosting, embedding, gathering analytics, and even AI-powered voice translation. This integrated approach saves immense time compared to stitching together OBS and a separate video editor.
FAQ
Is OBS a screen recording software?
Yes, OBS Studio is a powerful, free, and open-source software used for both high-quality screen recording and live streaming. It allows you to capture your screen, webcam, and other sources to create professional video content.
Is OBS screen recorder free?
Yes, OBS Studio is completely free to use. It's open-source software maintained by a community of volunteers, meaning there are no fees, subscriptions, or watermarks on your recordings.
Why is OBS shutting down?
OBS Studio as a project is not shutting down; it is actively developed and widely used. If your personal OBS application is shutting down unexpectedly, it is likely due to a software conflict, outdated drivers, incorrect settings, or a plugin incompatibility on your specific machine.