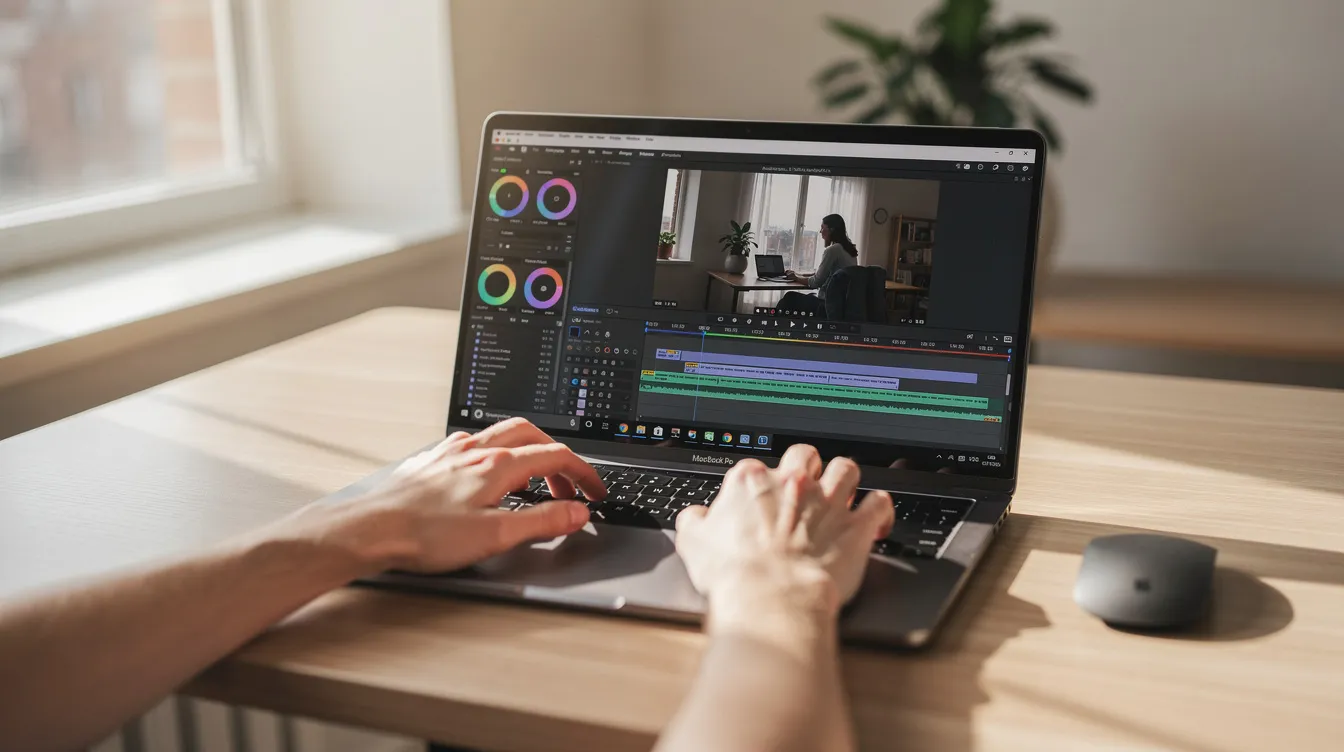
A great tutorial video simplifies a complex topic and makes the viewer feel smart. The key is careful planning, clean recording, and crisp, objective-driven editing that respects the viewer's time. This guide walks you through the entire process, from scripting your first draft to sharing your final, polished video.
What Exactly Is a Tutorial Video?
A tutorial video is an instructional video that demonstrates how to perform a specific task or use a product, step-by-step. Unlike a broad explainer video, a tutorial is focused and tactical. Its goal is to guide a viewer from a state of not knowing how to do something to being able to do it themselves.
These videos are incredibly effective for audience engagement, customer support, and content marketing. They build trust by providing genuine value, positioning the creator as an expert. For businesses, they can significantly reduce support tickets, improve user onboarding, and showcase a product's features in a practical context.
Step 1: Plan Your Tutorial Like a Pro
Jumping straight into recording is the most common mistake. A few hours of planning can save you days of re-shooting and editing. A solid plan ensures your video is focused, clear, and achieves its goal.
Define Your Goal and Audience
First, what specific action should the viewer be able to take after watching? A tutorial for a complete beginner will use simpler language than one for an advanced user. Be specific. Instead of "Teach them to use our app," aim for "Show a new user how to create their first project and invite a team member."
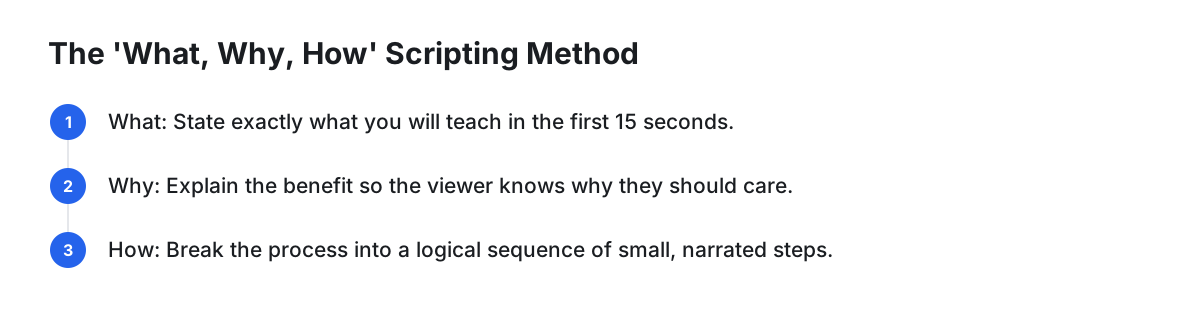
Outline Your Script with the 'What, Why, How' Method
An effective structure immediately establishes value and sets expectations:
- What: In the first 15 seconds, state exactly what you will teach them. "Today, I'm going to show you how to use pivot tables in your spreadsheet."
- Why: Immediately follow up with the benefit. Why should they care? "This will let you summarize thousands of rows of data in seconds, helping you find insights much faster."
- How: This forms the body of your tutorial. Break the process into a logical sequence of small, numbered steps. Narrate each step as you perform it on screen.
To help you get started, here's a simple script template you can use:
# Tutorial Script Template

**Video Title:**
**Target Audience:**
**Primary Goal:**

---

### INTRO (0-15s)
- **(WHAT)** Today, I'm going to show you how to [ACTIONABLE VERB + TASK].
- **(WHY)** This is useful because it will help you [ACHIEVE A BENEFIT].

### STEP 1: [Name of Step]
- **Visual:** [Describe what is happening on screen].
- **Narration:** "First, you'll need to..."

### STEP 2: [Name of Step]
- **Visual:** [Describe what is happening on screen].
- **Narration:** "Next, click on the... and select..."

### SUMMARY & OUTRO
- **Recap:** "So, we've successfully [RESTATE THE ACCOMPLISHMENT]."
- **CTA:** "If you found this helpful, subscribe for more tips!"
Pre-Recording Checklist
Before you hit record, run through this checklist to avoid common issues:
- Close unnecessary apps: No surprise notifications.
- Clean your desktop: Hide distracting files and icons.
- Set screen to 16:9 ratio: Use 1920x1080 or 2560x1440 for best results.
- Silence your phone and environment: Close doors and windows.
- Do a quick test recording: Check audio levels and listen for hum or echo.

Step 2: Choose Your Gear and Software
You don't need a Hollywood studio. You need a few key pieces of equipment and the right software to capture and polish your content. A good USB microphone is non-negotiable for clear audio, but your software choice will have the biggest impact on your workflow and final product.
There are four main players in the screen recording space, each suited for different needs and workflows.
- Loom: Best for quick, asynchronous video messaging. It's incredibly fast for recording and sharing simple screen updates with teammates, but its editing capabilities are basic.
- Descript: Best for content creators who edit by text. Its standout feature is transcript-based video editing, which is powerful for narrative-heavy content. It also has excellent AI-powered audio cleanup tools.
- Camtasia: The classic powerhouse for professional course creators. It offers a traditional timeline editor with a vast library of effects, transitions, and quizzing features, but comes with a steep learning curve and a high price tag.
- Cinemak: Best for Mac users creating polished software demos with minimal effort. Its main differentiator is its ability to automatically add zooms and smooth cursor movements post-recording, drastically reducing manual editing time.
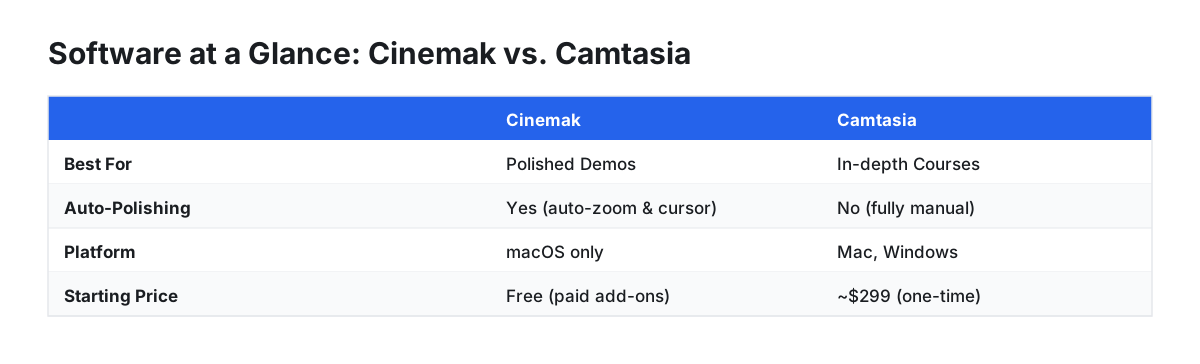
Here’s how they stack up on key features:
| Feature | Cinemak | Loom | Descript | Camtasia |
|---|---|---|---|---|
| Platform | macOS only | Mac, Windows, Web | Mac, Windows, Web | Mac, Windows |
| Best For | Polished Demos | Quick Updates | Narrative Editing | In-depth Courses |
| Auto-Polishing | Yes (auto-zoom & cursor smoothing) | No | No (but has AI audio clean-up) | No (fully manual) |
| Free Plan | Unlimited recording & 4K export | 25 videos max, 5 min/video limit | 1 hr transcription/mo, 720p export | Free trial only |
| Starting Price | Free (paid cloud/AI add-ons) | $12.50/user/mo | $12/user/mo | ~$299 (one-time) |
Step 3: Record and Edit Your Tutorial
With your plan and tools ready, it's time to create. Your preparation allows you to focus on delivering a clear and confident presentation.
Recording Your Content
Follow your script, but allow your delivery to sound natural. It's often easier to record your screen and audio in one take. If you make a mistake, don't stop. Simply pause for three seconds, clap your hands once (this creates a visible spike in the audio waveform for easy editing), and restart the sentence. You'll thank yourself in the edit.

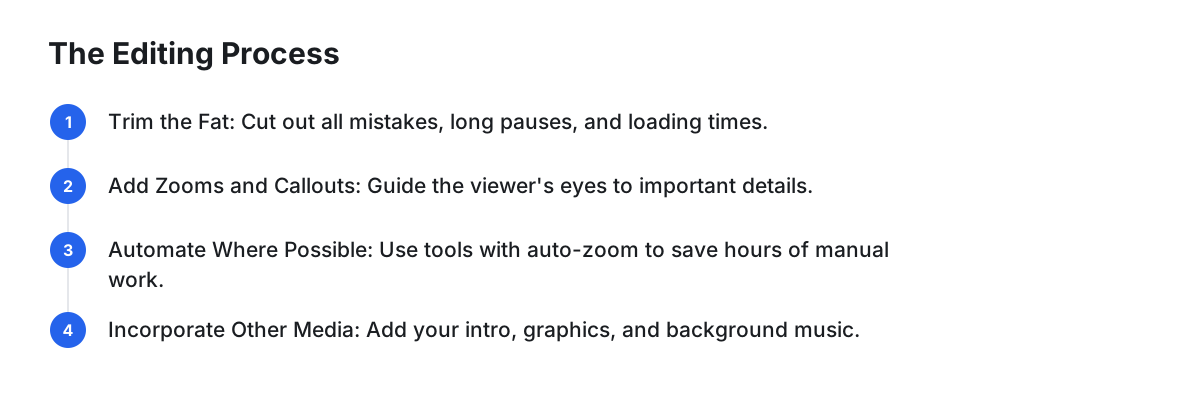
The Editing Process: From Raw to Polished
Editing is where you transform a good recording into a great tutorial. Your goal is to be ruthless in service of the viewer's time and attention.
- Trim the Fat: Cut out all mistakes (using your clap markers!), long pauses, and moments where you're waiting for something to load. Tight pacing feels professional.
- Add Zooms and Callouts: Don't make viewers squint. Manually add zooms to guide their eyes to important buttons or details. This is a crucial step for clarity. For example, if you're showing a specific menu item, zoom in on that part of the screen.
- Automate Where Possible: Manually adding zoom and pan animations (the 'Ken Burns effect') for every click is tedious. Some modern tools are built to eliminate this step. For instance, Cinemak automatically polishes recordings with auto-zoom and cursor smoothing the moment you stop recording. This intelligent reframing can save hours of manual keyframing.
A short video demonstrating how automatic zoom follows the cursor and clicks on a screen recording, making the final video more dynamic and clear without manual editing.
- Incorporate Other Media: Add your intro, background music, or other graphics. Keep music volume low (-20dB to -25dB is a good range) so it doesn't compete with your narration.
Step 4: Export and Share Your Video
Once your edit is complete, export the file. A resolution of 1080p (1920x1080) is the standard for web video, but if your software supports it, exporting in 4K at 60 frames per second provides the best quality and future-proofs your content.
For hosting, YouTube and Vimeo are excellent free options. However, for business use cases like customer onboarding or sales demos, you may want more control and analytics. Many recording tools now offer integrated hosting. The paid Cinemak Cloud plan, for example, includes hosted videos, shareable links, viewer analytics, comments, and reactions, consolidating your workflow into a single platform.
If you want to create polished, high-resolution screen recordings on your Mac and drastically cut down on manual editing time, try Cinemak for free. The automatic polishing means your demos look professional right out of the box.
FAQ
What is a tutorial video?
A tutorial video is a step-by-step instructional guide that shows a viewer how to complete a specific task. It's highly focused and practical, aiming to transfer a skill or piece of knowledge so the viewer can replicate the results themselves.
What is the best way to make a tutorial video?
The best way is to script every word and action with the goal of respecting the viewer's time, then edit ruthlessly to remove anything that doesn't serve that goal. Every second should be intentional and deliver value.
How do I introduce a tutorial video?
Start your intro by immediately stating the video's value proposition. A great formula is the 'What & Why': state what the viewer will learn to do, and briefly explain the benefit. For example: "In this video, I'll show you how to set up automated rules in your inbox (the 'what') so you can save an hour every week on email (the 'why')."
How long should a tutorial video be?
A tutorial video should be as short as possible while still being complete and easy to follow. For a single, focused task, aim for 2-7 minutes. If a topic is more complex, break it into a series of shorter videos rather than creating one long 30-minute video, as shorter content is more engaging and easier to digest.