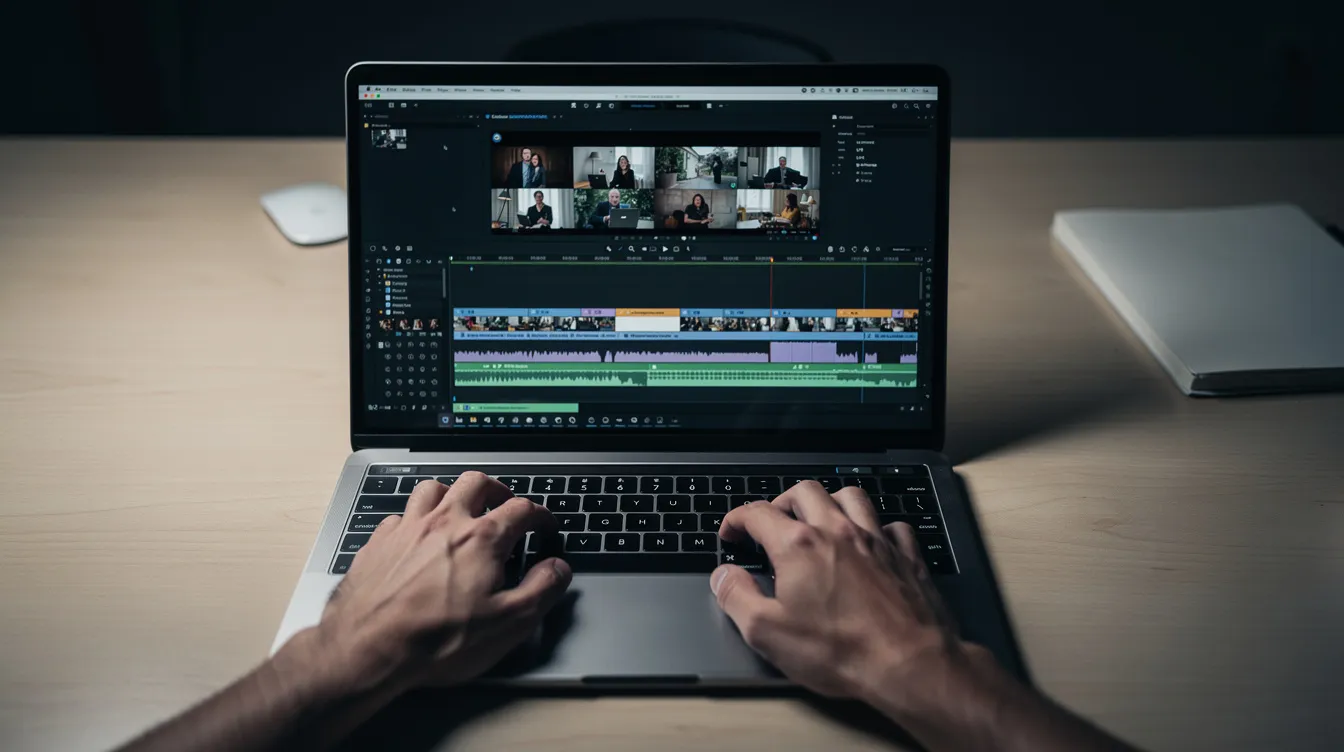
Effective video editing is more than just cutting clips together. It’s about building a professional workflow, telling a story through pacing and sound, and applying technical polish. To create compelling content, focus on organizational discipline, mastering cuts that create flow, and understanding the right tool for each job.
The Professional Workflow: Before You Even Open Your Editor
Flawless edits are built on a foundation of meticulous organization. Investing time here prevents massive headaches and allows creativity to flow freely once you're on the timeline.
1. The 3-2-1 Backup Rule: Your Career Insurance
The 3-2-1 rule is a non-negotiable data management strategy. It requires three copies of all project files, on two different types of storage media (e.g., your computer's SSD and an external hard drive), with one of those copies stored off-site (e.g., a cloud service or a drive at another location). A single drive failure can wipe out a project; this rule makes that a minor inconvenience instead of a catastrophe.
2. Build a Scalable Project Structure
Don't just dump files into one folder. A disciplined structure saves you from searching for assets later. For every new project, create a parent folder and then replicate this sub-folder structure inside:
- 01_Project Files: Your Premiere Pro, DaVinci Resolve, or Final Cut Pro project files.
- 02_Footage: Sub-folders for each camera, date, or scene (e.g., A-Cam, B-Cam, Drone).
- 03_Audio: Sub-folders for
Music,Voiceover, andSound Effects. - 04_Graphics: Sub-folders for
Logos,Lower Thirds, andOverlays. - 05_Exports: Where your final rendered videos will go.
Using a numbered prefix ensures the folders always appear in the same logical order.
3. Edit from a Transcript, Not Just a Timeline
For dialogue-heavy content like interviews or tutorials, scrubbing through audio to find key moments is inefficient. Instead, use an AI service to transcribe your footage first. Many modern editors, like Adobe Premiere Pro, have this feature built-in. This gives you a searchable text document of your video. You can read the interview, highlight the best quotes, and then instantly find those exact moments on your timeline, saving hours of hunting.
The Art of the Cut: Timeline Techniques That Tell a Story
Once organized, the timeline is where your story takes shape. These cutting techniques separate amateur work from professional, polished content.
4. Master J-Cuts & L-Cuts for Fluidity
Hard cuts, where audio and video switch at the exact same time, can feel jarring in conversations. J-cuts and L-cuts create a smoother, more natural flow.
- J-Cut: The audio from the next clip starts before the video switches. Imagine a shot of someone listening, and you hear the first words of the next person's sentence just before the camera cuts to them speaking. This anticipates the cut and pulls the audience in.
- L-Cut: The audio from the current clip continues after the video has cut to the next shot. Think of a character finishing a sentence as the camera cuts to another character's reaction. This connects the two shots emotionally.
[Image: A simple diagram of a video timeline showing the audio track for clip B starting under the video track for clip A (a J-Cut).]
5. Use B-Roll to Deepen the Narrative
B-roll (supplemental footage) isn't just for hiding jump cuts. It's a primary storytelling tool. Instead of just showing a person talking about a product, cut to beautifully lit shots of the product in use. If they mention a specific location, show an establishing shot of that place. B-roll makes your video more dynamic and visually reinforces the message of your primary footage (A-roll).
6. Master Pacing and Rhythm
Pacing is the heartbeat of your edit. It's a combination of trimming aggressively and varying the speed of your cuts to control the mood.
- Trim Aggressively: Make decisive cuts to eliminate filler words (
uhm,like), redundant phrases, and dead air. A tight edit keeps the viewer engaged. - Vary the Rhythm: Use rapid cuts to build excitement or convey a lot of information quickly. Use longer, sustained shots to let a powerful emotional moment land or to allow the viewer to absorb complex visual information. The contrast between fast and slow is what makes an edit feel dynamic.
Polishing Your Edit: Beyond the Basics
With the story structure in place, it's time for the audio and visual polish that elevates the final product.
7. A Beginner's Guide to Sound Design
Audiences will forgive mediocre video quality, but they won't tolerate bad audio.
- Level Dialogue First: Your primary audio is dialogue. Set its level so it consistently peaks between -12dB and -6dB. This ensures it's clear and present without clipping.
- Mix in Music: Bring in your music track and set its level significantly lower, perhaps around -18dB to -24dB, so it supports the dialogue without overpowering it.
- Add Sound Effects (SFX): Subtle SFX make a huge difference. A quiet whoosh on a text graphic or the sound of a keyboard clicking during a screen recording adds a layer of realism and professionalism.
8. A Practical Color Correction Workflow
Color grading can seem intimidating, but a systematic approach makes it manageable. Follow these steps in order for a clean, consistent look:
- Correction First: Your first goal is to create a neutral, accurate baseline. Use your software's scopes (especially the Waveform monitor) to adjust exposure and contrast. Set your blackest blacks to 0 and your whitest whites to 100.
- White Balance: Find something in your shot that should be neutral white or gray and use your editor's white balance tool to correct any color casts.
- Grading Second: Now you can get creative. Apply a stylistic look. A popular cinematic style is the "teal and orange" look, where you push subtle teal/blue tones into the shadows and complementary orange/warm tones into the highlights and skin tones.
[Image: A split-screen showing a flat, washed-out video clip on the left, and the same clip on the right after color correction and grading, with vibrant colors and better contrast.]
9. Use Motion and Graphics to Direct Attention
Effective graphics guide the viewer's eye. Don't just slap text on the screen. Use subtle motion to draw attention to key information. A callout graphic that animates in next to a specific feature on-screen is more effective than static text. When designing titles, respect "title-safe" areas to ensure your text isn't cut off on different screens.
Optimizing Your Process: Work Smarter, Not Harder
10. Learn Your "Big Five" Keyboard Shortcuts
Instead of trying to learn every shortcut, master the five you'll use constantly. For most editors, these are:
- Cut/Blade Tool (C or Cmd/Ctrl+B): To make cuts in clips.
- Selection Tool (V): Your standard cursor for selecting and moving clips.
- Ripple Delete: Deletes a clip and automatically closes the gap.
- Zoom In/Out (+/-): For navigating the timeline quickly.
- Play/Pause (Spacebar): The most used shortcut of all.
11. Create and Use Effect Presets
If you find yourself repeatedly creating the same look or effect—like a specific color grade, an audio filter for your voiceover, or a branded title animation—save it as a preset. In your next project, you can apply that complex chain of effects with a single drag-and-drop, ensuring consistency and saving immense amounts of time.
12. Choose the Right Tool for the Job
Different video projects have different needs. Using a powerful, complex tool for a simple job can be slow and inefficient.
- All-Purpose NLEs: Software like Adobe Premiere Pro, DaVinci Resolve, and Final Cut Pro are industry standards for a reason. They offer incredible power and control for cinematic films, documentaries, and complex multi-track projects.
- Mobile/Quick Editors: Apps like CapCut are fantastic for quick social media videos, offering trendy templates and a simple interface.
- Specialized Tools: For specific tasks like creating software tutorials, a general-purpose NLE is often overkill. Manually keyframing every zoom and cursor highlight is tedious. A specialized screen recorder like Cinemak for macOS automates this process. It automatically adds smooth zooms and cursor highlighting the moment you stop recording, exporting a polished 4K/60fps video without ever needing a traditional timeline.
Choosing the right tool is the first step in an efficient workflow.
| Tool Category | Best For | Typical Workflow | Key Strength |
|---|---|---|---|
| Professional NLEs (Premiere, Resolve) |
Cinematic, narrative, multi-camera projects | Manual editing, keyframing, complex color/audio suites | Granular control, ultimate flexibility |
| Mobile Editors (CapCut) |
Social media, short-form, trend-based videos | Template-driven, simple timeline editing | Speed, ease of use, trendy effects |
| Specialized Recorders (Cinemak) |
Screen recordings, tutorials, product demos | Record -> Automatic polish -> Export | Automation, zero-effort professional results |
13. Use Proxies for a Lag-Free 4K Editing Experience
Editing high-resolution 4K or 8K footage can make even powerful computers stutter. A proxy workflow solves this. Your editing software creates low-resolution copies (proxies) of your original files. You edit using these small, snappy files for a smooth experience. When you're ready to export, the software automatically links back to the original full-quality files for the final render.
Delivery and Export
14. Export Settings Demystified
Your masterpiece is edited; don't let it be ruined by poor export settings. For 99% of web video, these are your go-to settings:
- Format/Container: MP4
- Codec: H.264 (or H.265/HEVC for higher quality at smaller file sizes)
- Resolution: Match your timeline (e.g., 1920x1080 for HD, 3840x2160 for 4K)
- Frame Rate: Match your timeline (e.g., 24, 30, or 60 fps)
- Bitrate: For YouTube 4K, aim for 35-45 Mbps. For 1080p, 8-12 Mbps is a solid target.
15. Create Platform-Specific Versions
A single 16:9 horizontal video won't perform well everywhere. Create dedicated versions for your most important platforms. Reframe your 16:9 edit into a 9:16 vertical version for TikTok, Reels, and Shorts. You may also need a 1:1 square version for Instagram feeds. This extra step dramatically increases engagement by respecting the viewing context of each platform.
FAQ
What is the 3-2-1 rule in video editing?
The 3-2-1 rule is a backup strategy to protect your files. It means keeping three total copies of your footage, on two different types of storage media, with at least one of those copies stored in an off-site location (such as a cloud service or a drive at a different address).
How can I get better at video editing?
Try a 'deconstruction' exercise: download a movie trailer and recreate it shot-for-shot in your editor to master pacing and sound design. Also, look for online communities or platforms that host "edit this footage" challenges; working from the same professional clips as others is an incredible learning tool.
What are the 5 C's of editing?
The 5 C's are Camera, Continuity, Cutting, Close-ups, and Composition. These are foundational filmmaking principles that guide how shots are planned and assembled to create a clear, coherent, and visually engaging story for the viewer.